Walkthrough Before We Start
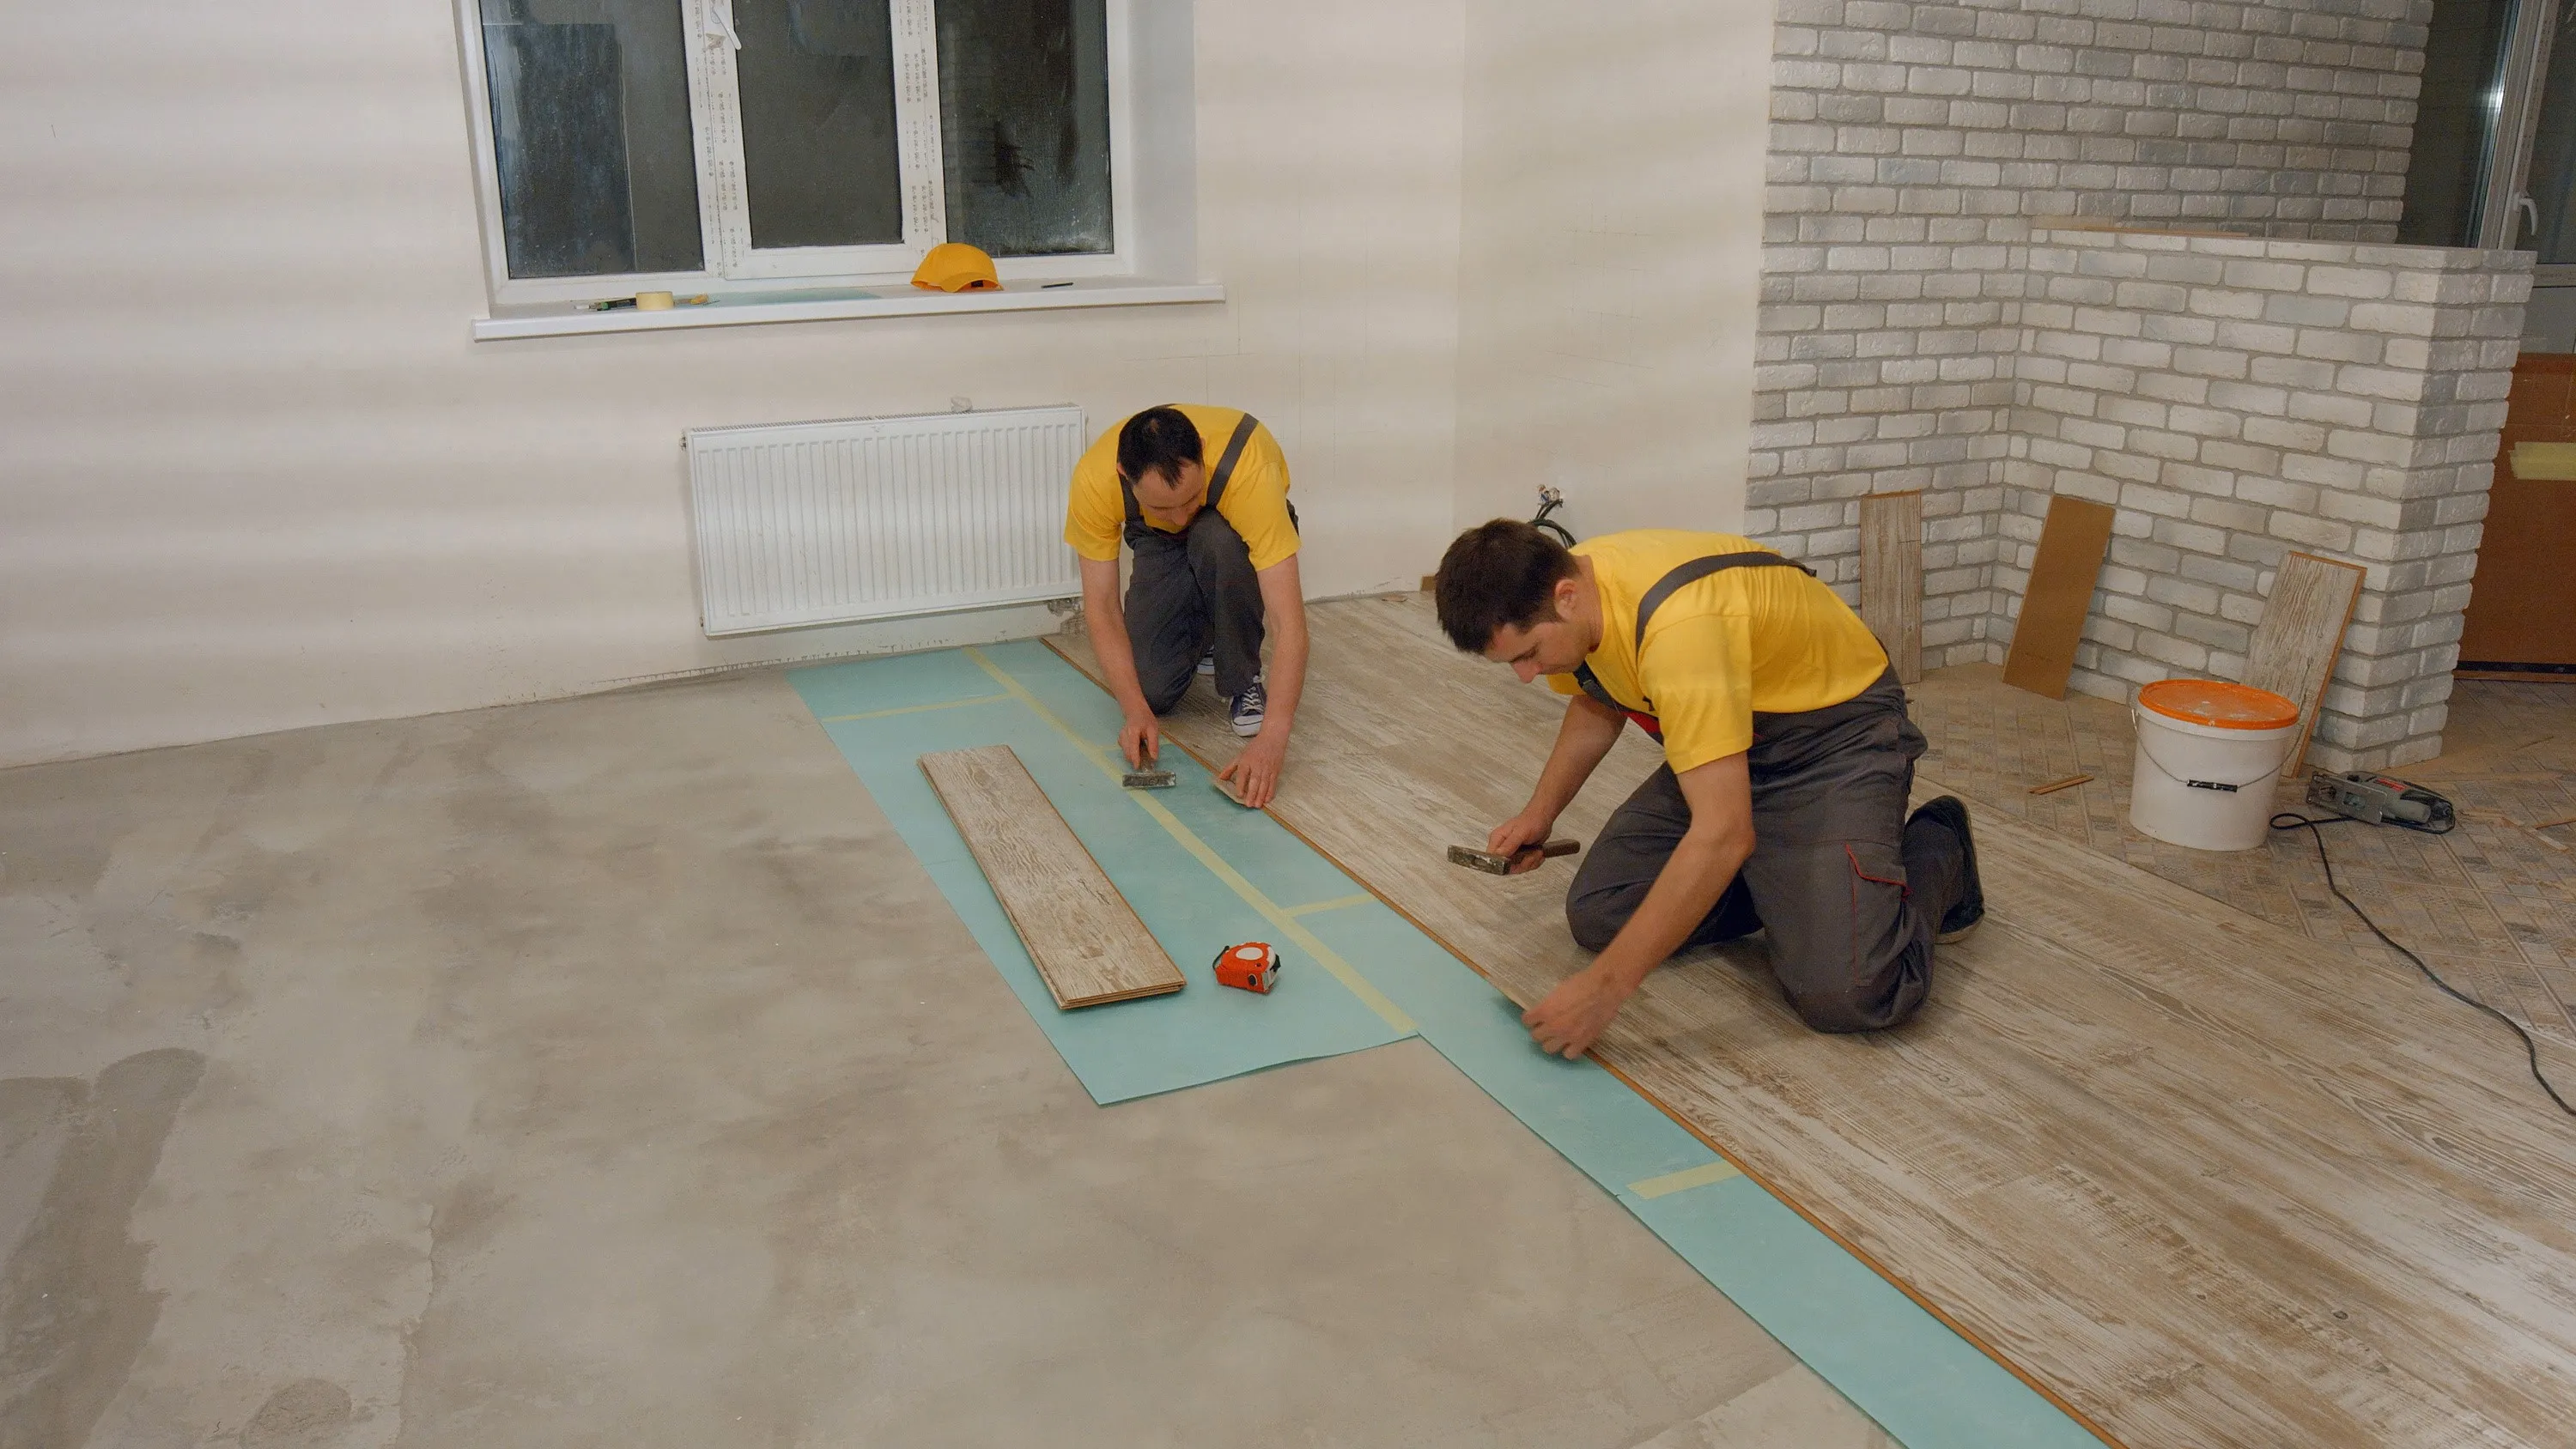
See how the proposed hardwood meets current tile and the entrance to each room. Our walkthrough records those junctions before the fitting method and order are set.



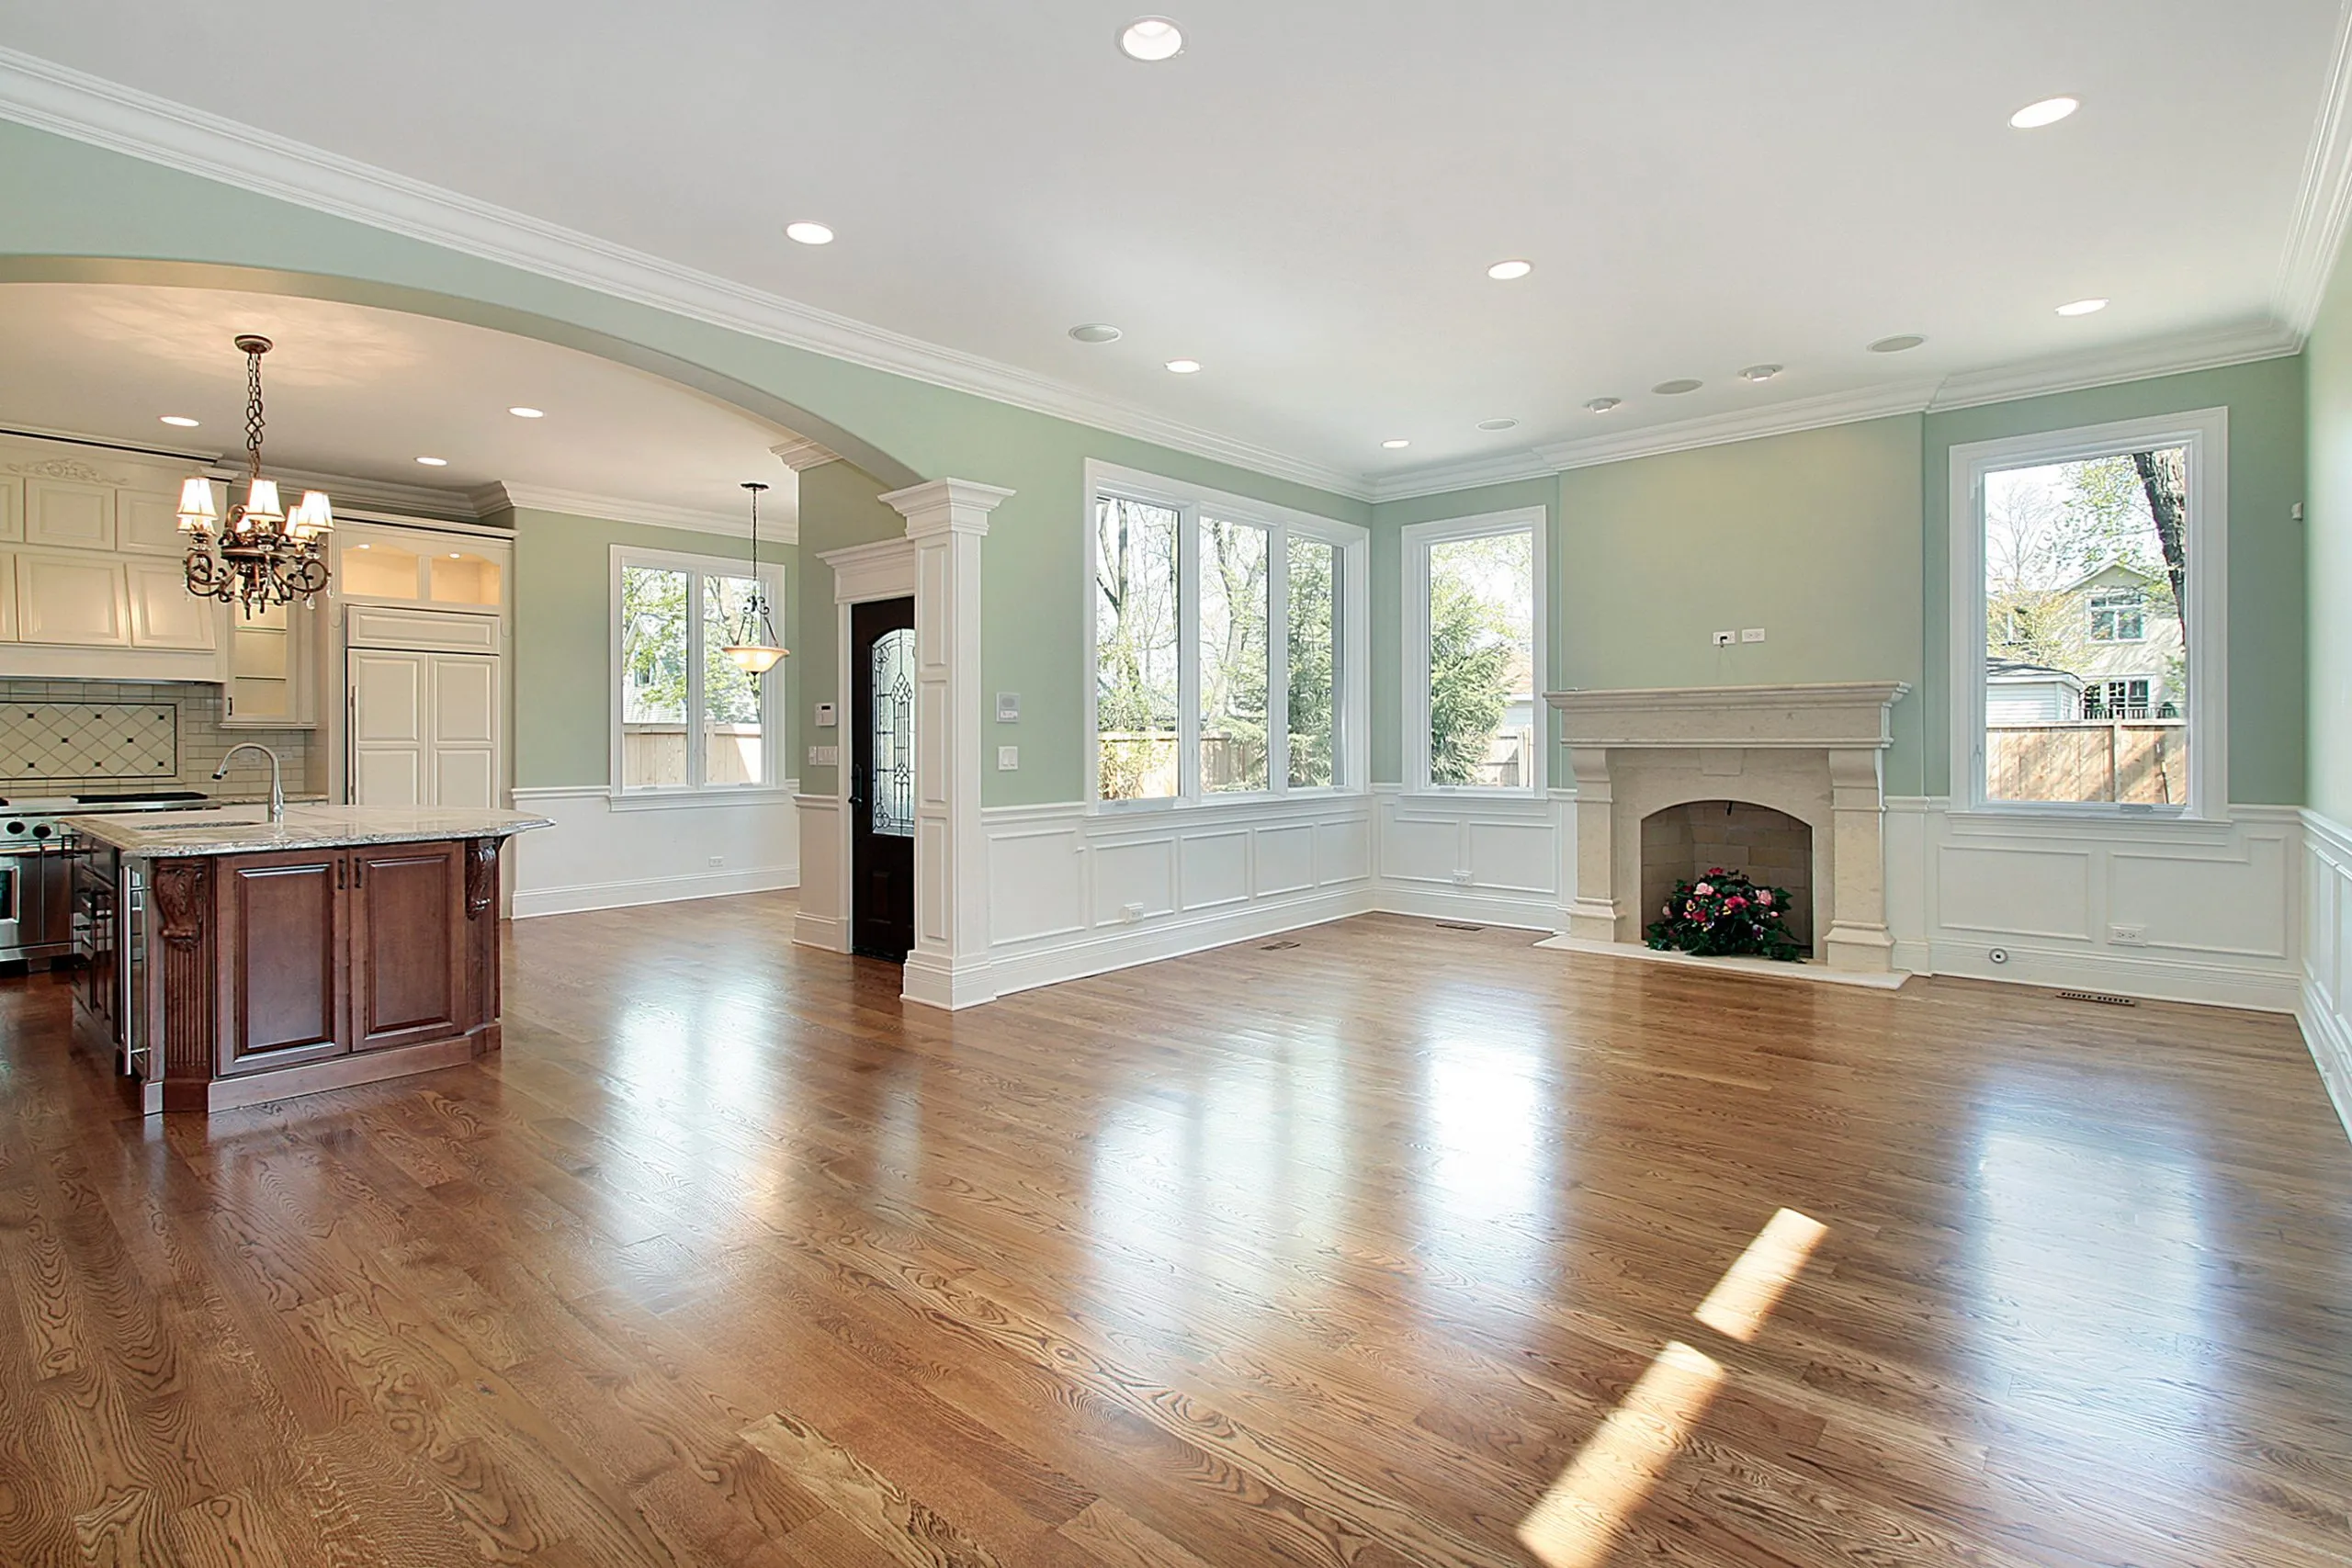

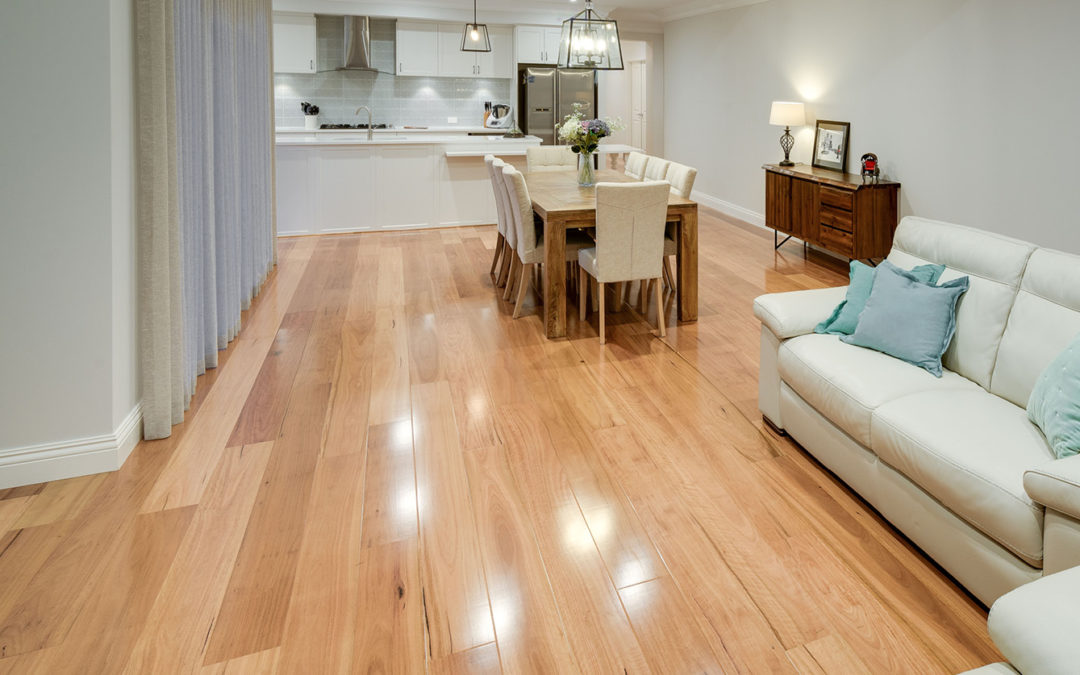
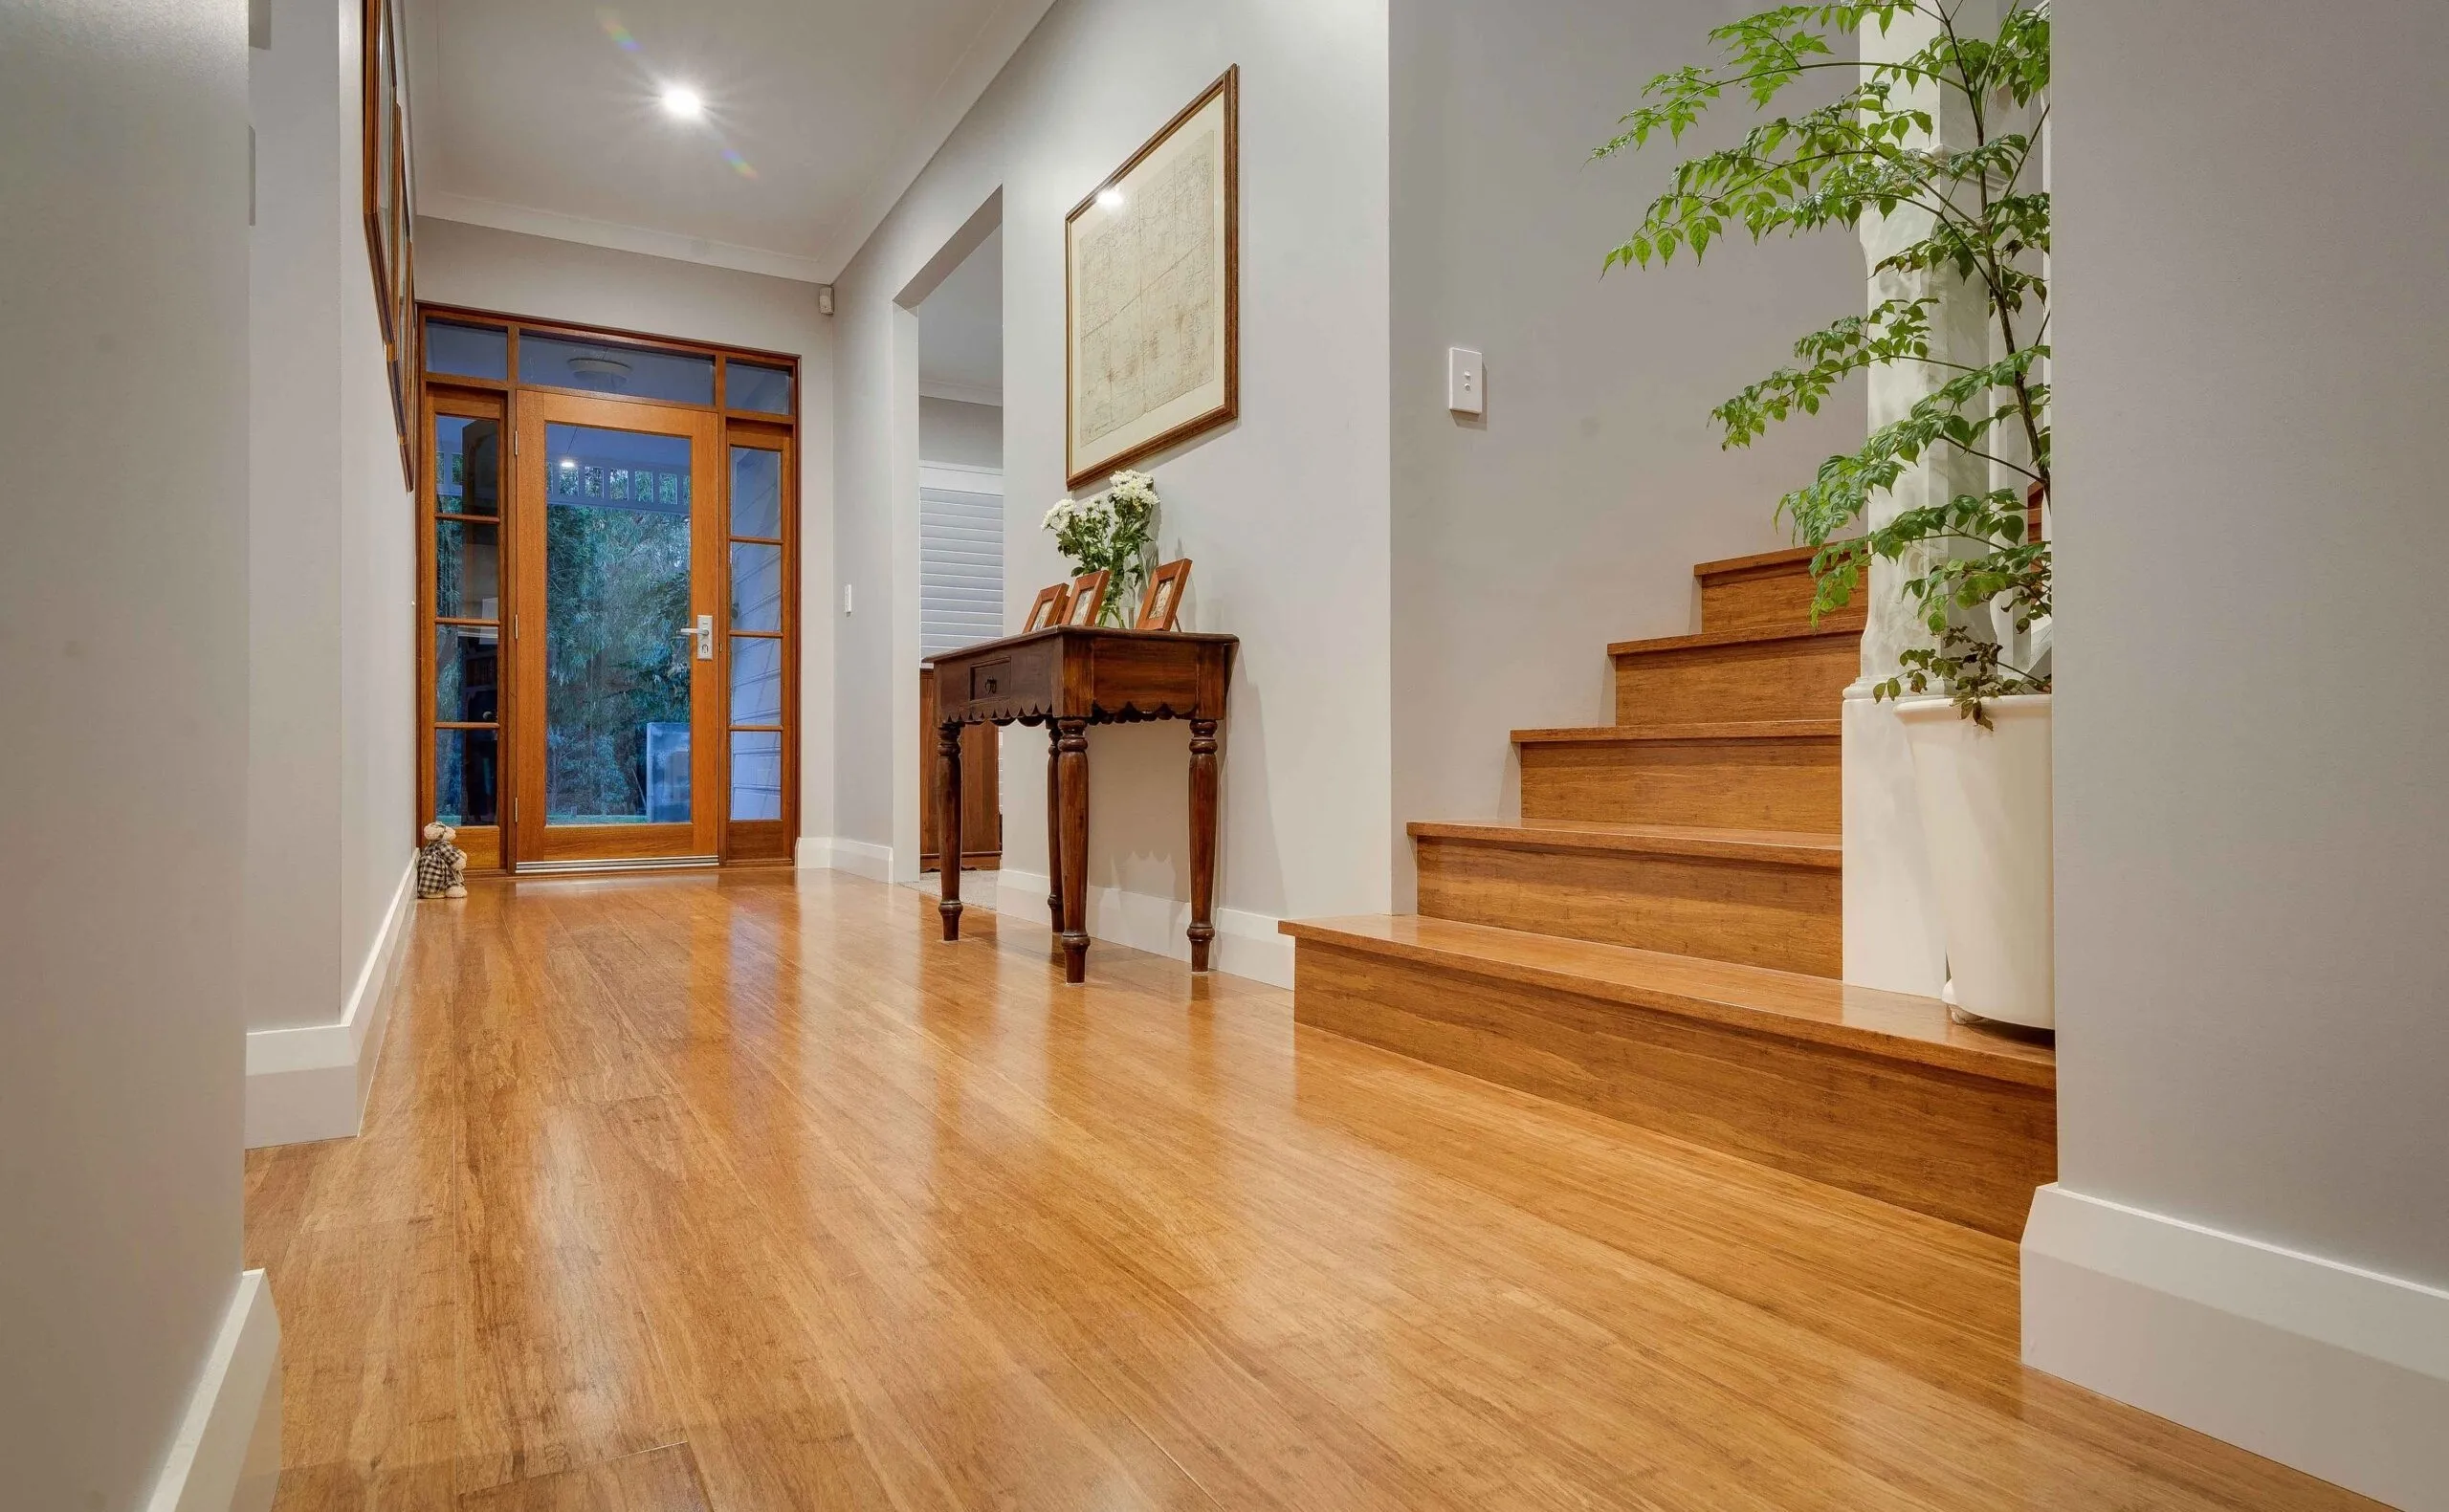

See how the proposed hardwood meets current tile and the entrance to each room. Our walkthrough records those junctions before the fitting method and order are set.

Request the contractor credentials and insurance documents needed for your address; clarify who handles each part of the job.

Room width, door offsets and fixed cabinetry affect the hardwood takeoff. Survey those details before adding the cutting allowance.

The one-year labor terms belong with your hardwood proposal. Ask what labor is covered, how to report a concern and which care duties apply.
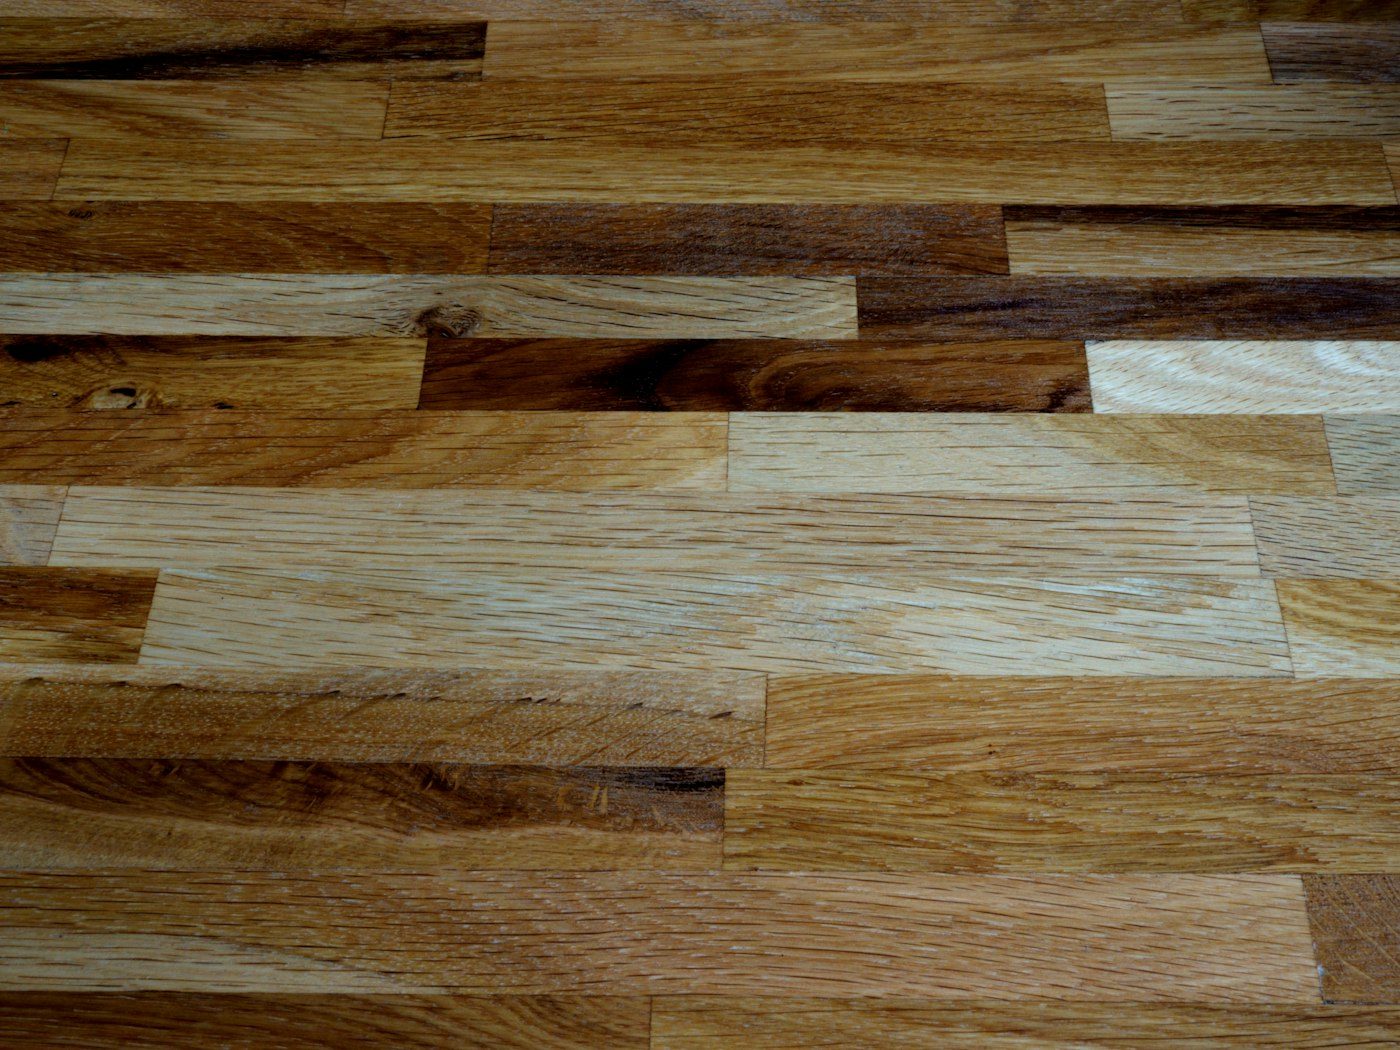
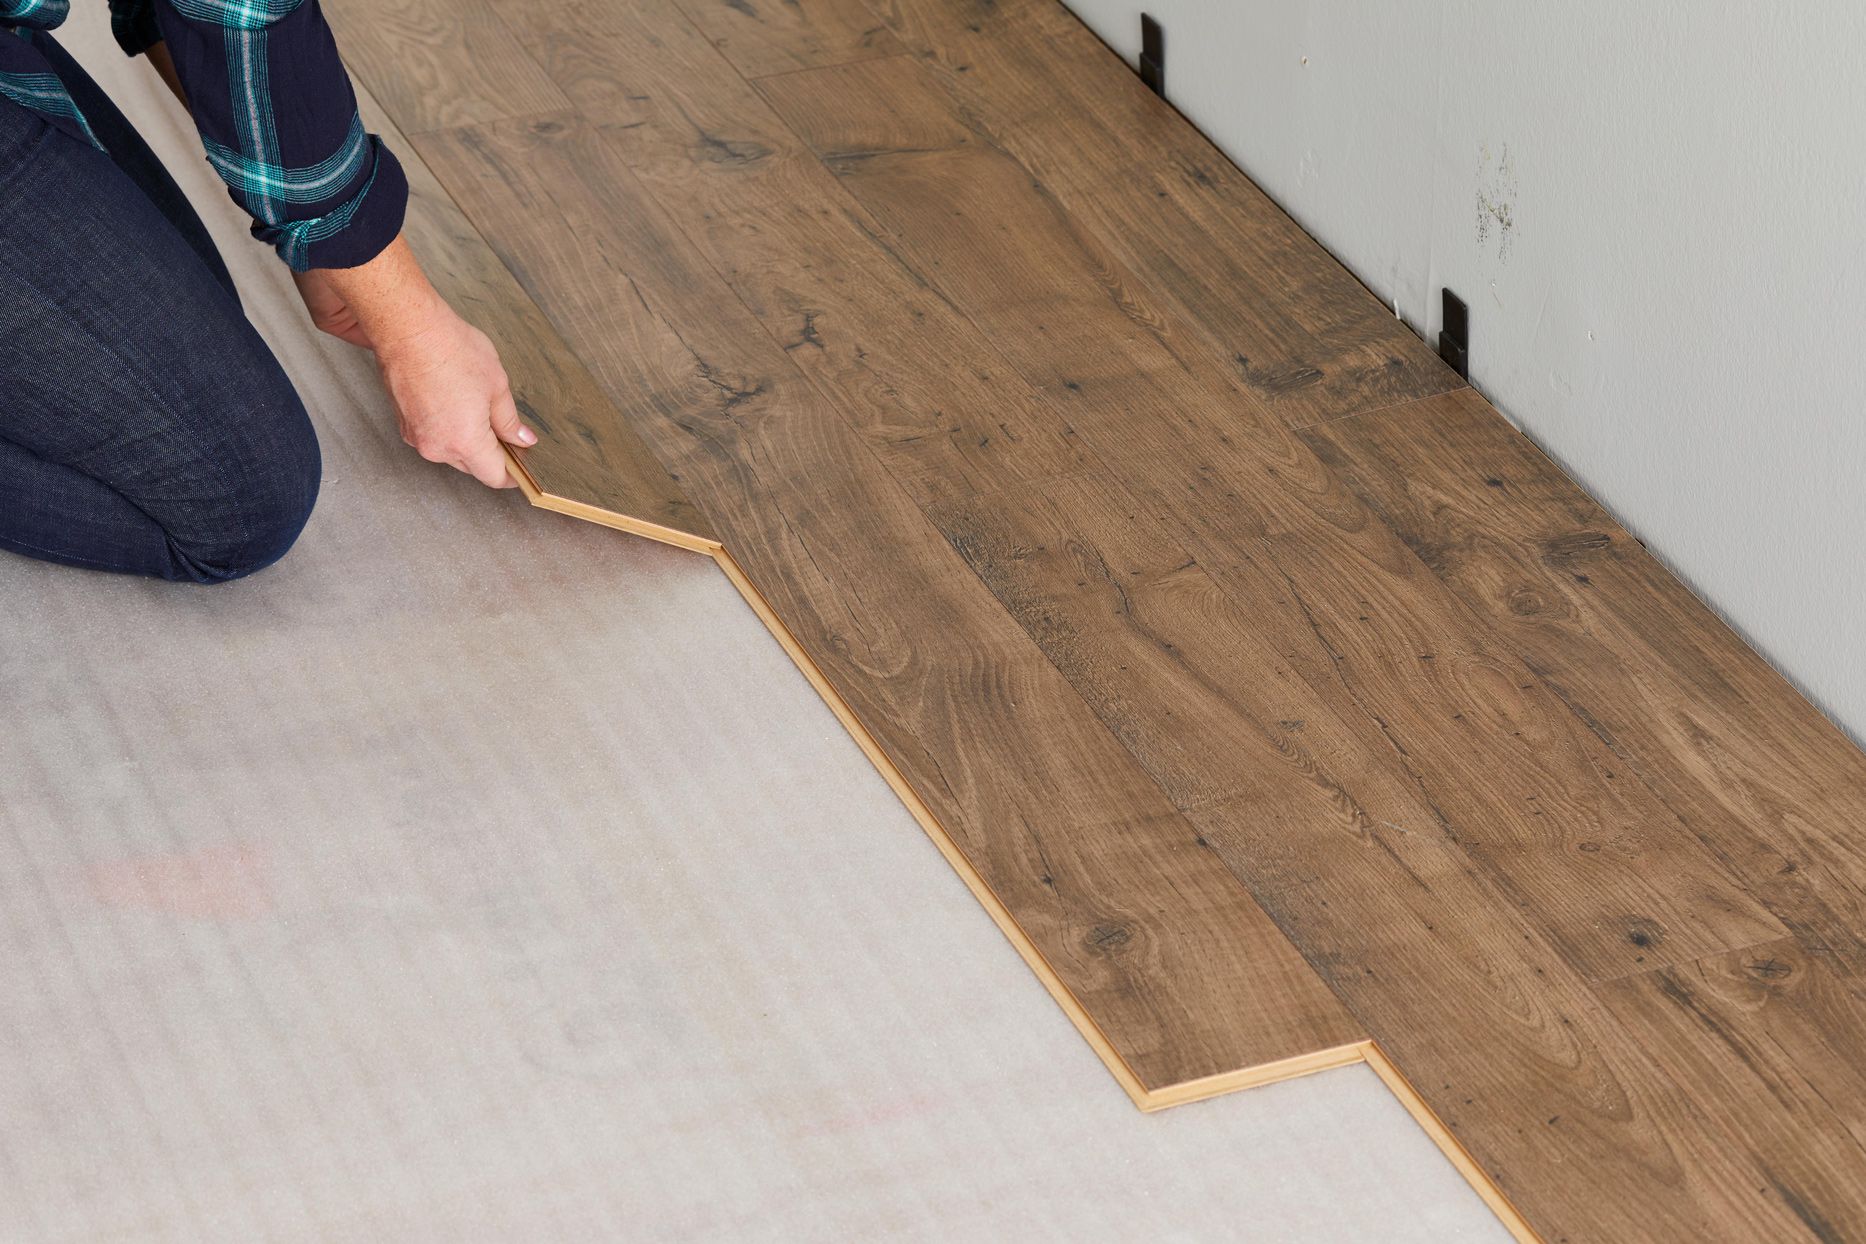
Lay straight boards from a measured starting line; test the last strip width against the opposite wall.
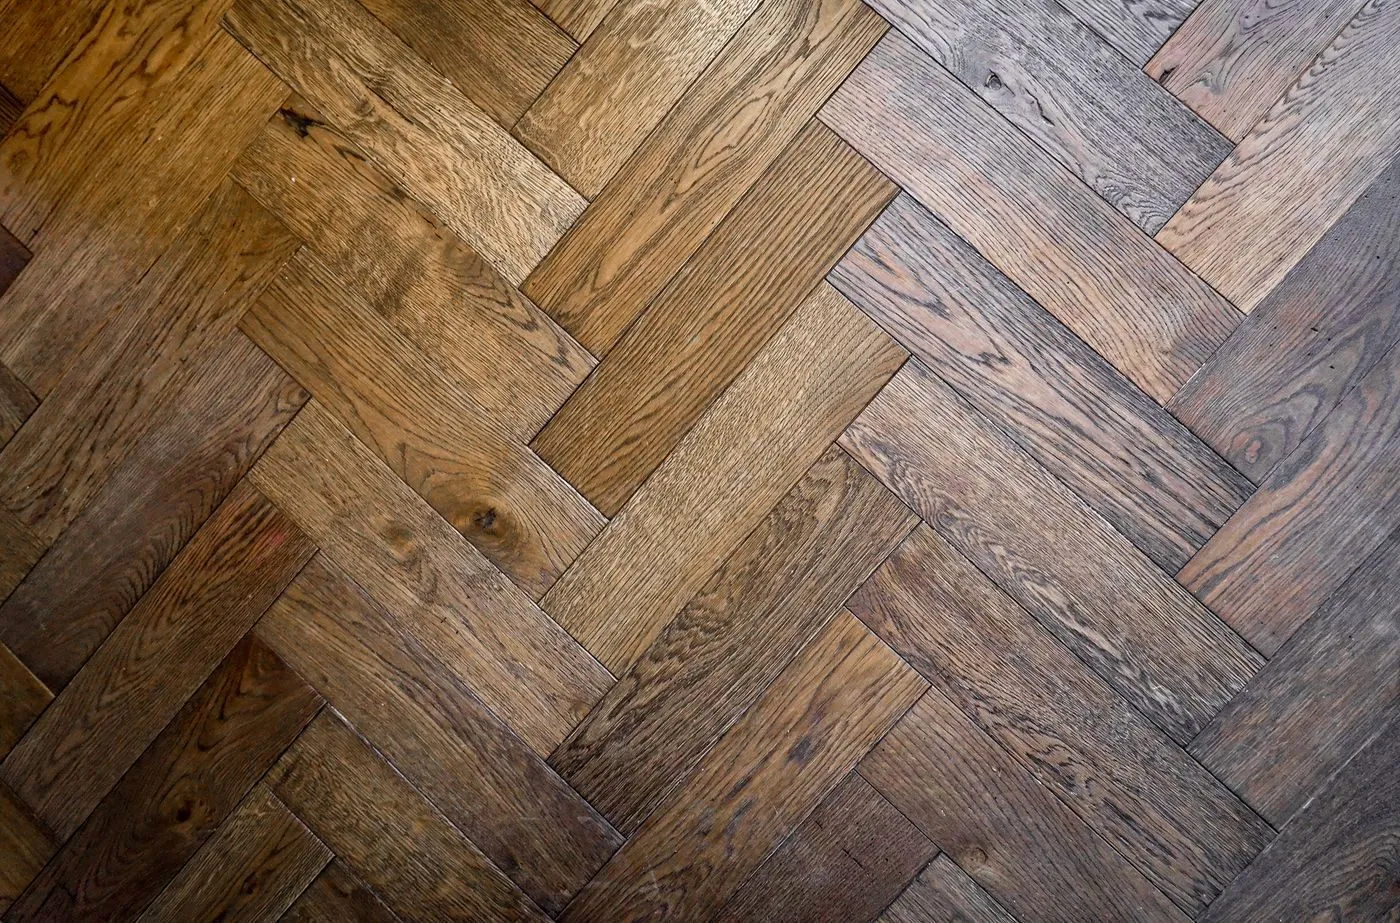
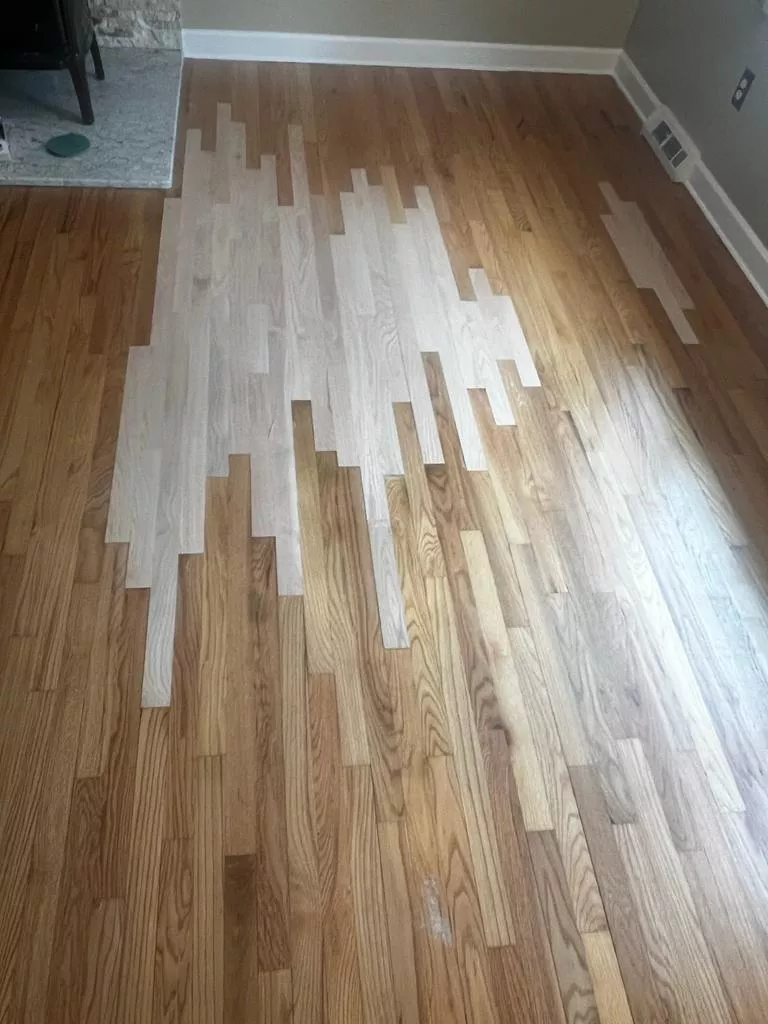
Set a herringbone centerline and repeat, then consider the angled ends against doorways and room borders.

Chevron pieces meet at a sharp point. Establish the direction, cut specification and border layout together.

Diagonal wood requires angled perimeter cuts. Draw the layout through adjacent doorways and calculate material use.

Checkerboard blocks need a repeat that fits a room. Check block sizes and the cuts left around its edges.

Basket weave combines strips into repeating units. Check the unit size and its border before estimating the wood.


 Get your Free In-Home Estimate
The City Planning study of Bayside identifies blocks of detached houses built in the 1950s. If yours is from that period, gather information about additions and previous floor changes. An inspection should distinguish the boards being removed from the supporting layers that will stay. Mark doorways into later additions and any areas where the floor height changes. These checks help define the fastening and transition work without assuming that the entire house still has its first floor assembly.
Detached one- and two-family housing is a documented part of Bayside. Tell us whether the installation route passes a second household, and identify any entrance or stair that both residents use. Discuss delivery access, protected circulation and the rooms available for storing boards before dates are agreed. If work is in an upper unit, request any applicable floor-assembly instructions from the owner. Neither a neighborhood description nor a plank sample establishes what that particular building permits.
Planning records describe the Bell and Northern Boulevard area as Bayside’s commercial center. A customer-facing floor there should be assessed for its actual use, with the proposed wood and finish checked against the manufacturer’s commercial guidance. Discuss business hours, moving fixtures and the point where the floor meets the entrance. A residential product choice is not automatically transferable. The estimate should make any separate preparation, delivery or return-to-service arrangements visible before the material order is placed.
NYC sanitation guidance separates small homeowner DIY disposal from waste generated by professional construction. A contractor’s flooring removal needs an agreed private disposal arrangement rather than an assumption that the normal residential collection will take it. Ask the proposal to identify lifting, carrying out and hauling, including responsibility for any supporting material that must also be removed. Confirm the actual waste route before demolition begins so bundles do not accumulate in an entrance or shared passage.
The board construction, substrate and manufacturer’s instructions determine the available methods. Review those facts first, then compare nail-down, combined nail-and-glue or a permitted floating system.
Usually it changes the cutting plan. Measure the pattern repeat, room borders and doorway positions before calculating the material allowance; a photograph alone cannot establish the required quantity.
Yes, subject to the measured heights and condition at the junction. Specify the transition, board direction and finish expectations before fitting the new area.
Keep the product identification, approved scope, maintenance directions and written labor warranty. Record any agreed follow-up item while the installation details are still easy to inspect.