Samples on Your Own Wood
Astoria samples show stain and coating on existing wood. Inspect the tone beside preserved finishes under your room lighting.



Astoria samples show stain and coating on existing wood. Inspect the tone beside preserved finishes under your room lighting.

Fine-grit sanding must match stain rules and wood condition. Assess old coatings and abrasive marks before selecting preparation.

Consistent stain needs sound prep and application steps. Check the product’s working conditions to manage overlaps and edges.

Astoria staining has one-year labor terms. Store the approved sample, product note and clear-finish care directions with the scope.


 Get your Free In-Home Estimate
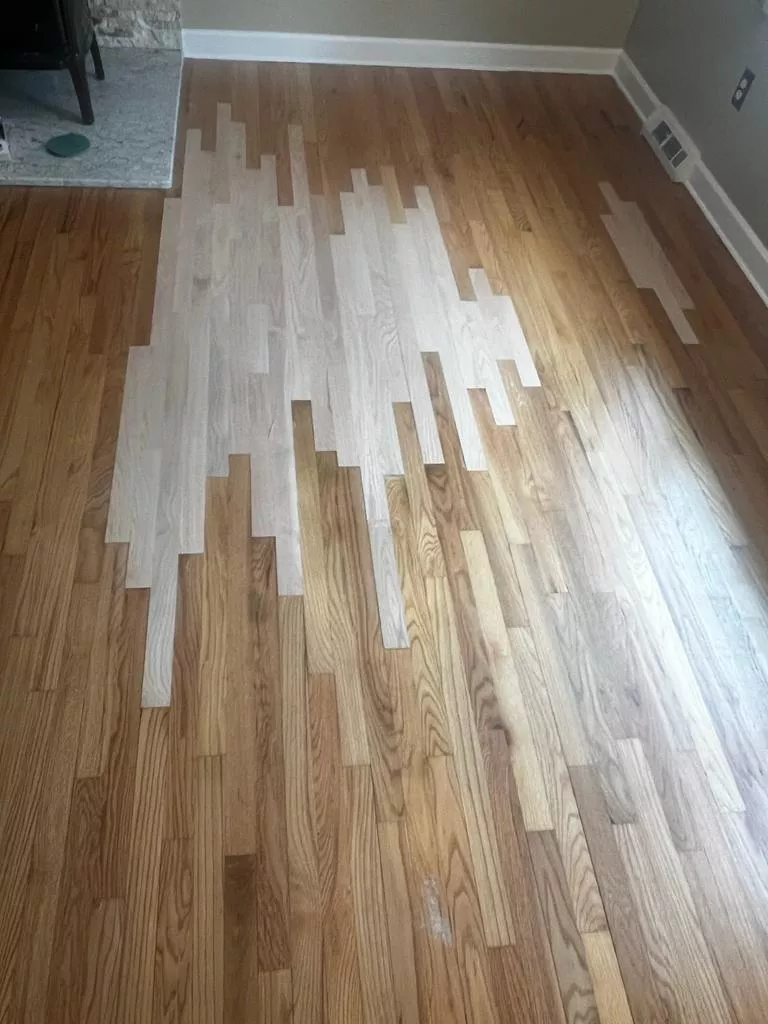
Astoria’s city planning description includes older apartments and rowhouses along with later residential development. In your own interior, identify the boards, trim and adjoining floors that will keep their appearance. Bring information about repairs or room alterations, then place stain samples across representative old wood and patches. View the proposed clear coating with the color beside those retained features. The scope should mark where the change ends, giving the owner a useful comparison at the actual doorway or landing instead of a detached swatch.
The neighborhood’s municipal housing account includes buildings of different types and heights. When booking samples, provide the complete location and specify the unit and level, and describe the entrance used for access. Obtain any shared-building work arrangements relevant to preparation and finishing. Show which rooms stay occupied and the fixed finishes that remain in view. Those details help the color discussion include workable sample positions, room boundaries and the eventual coating sequence for your property.
Astoria’s documented low-rise housing includes rowhouses where an owner may retain a hall or staircase during a room update. Photograph your own connection and identify any replacement boards before selecting a sample. Compare the stain and protective finish on the project wood beside the hall surface, under the lighting you use. Include the treatment boundary and protected access in the proposal. This allows the appearance decision and the practical work sequence to address the retained interior together.
Species, grain, age and earlier treatments influence absorption. Use a representative test area to approve the differences visible across your flooring.
Keep product names, mix proportions, the approved sample reference and the chosen clear coating together so the color system can be identified.
It can change tone and reflection. Evaluate the completed combination on representative wood before choosing the final shade.
View the coated sample under the room’s lighting and discuss maintenance expectations. Consider how visible dust or marks may appear with the selected sheen.
The compatible protective coating governs loading and covering times. Record its specific instructions and plan household movement before application.