Samples on Your Own Wood
Van Nest finish sampling should include distinct board sections. Before approval, assess the dried color with older woodwork.



Van Nest finish sampling should include distinct board sections. Before approval, assess the dried color with older woodwork.

Fine-grit sanding for Van Nest staining should suit the boards and finish. Check sanding marks before testing the proposed color.

Consistent sanding and a wet border help keep stain even. Check the prepared areas before coating rooms that share a doorway.

Save Van Nest's one-year staining workmanship coverage list with the accepted sample. Locate coating details and care requirements.


 Get your Free In-Home Estimate
Make one test close to the bay window and another beside the darker hall trim. Compare both with the intended clear coat after the surface has dried.
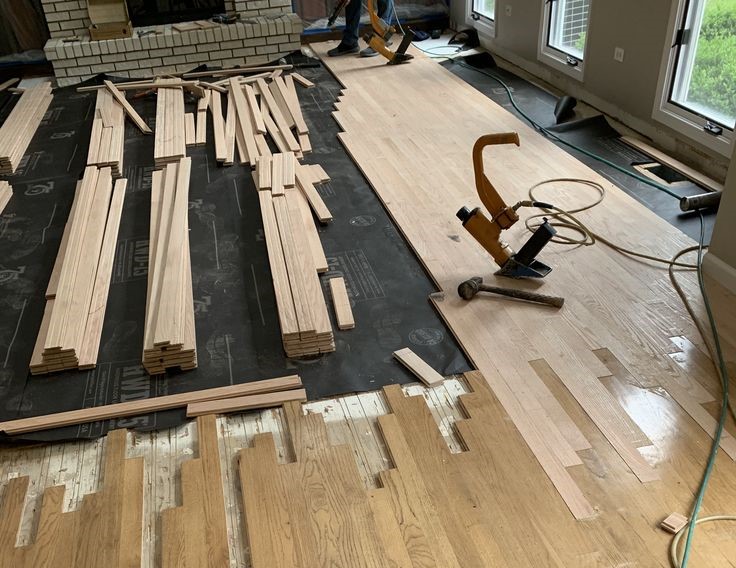
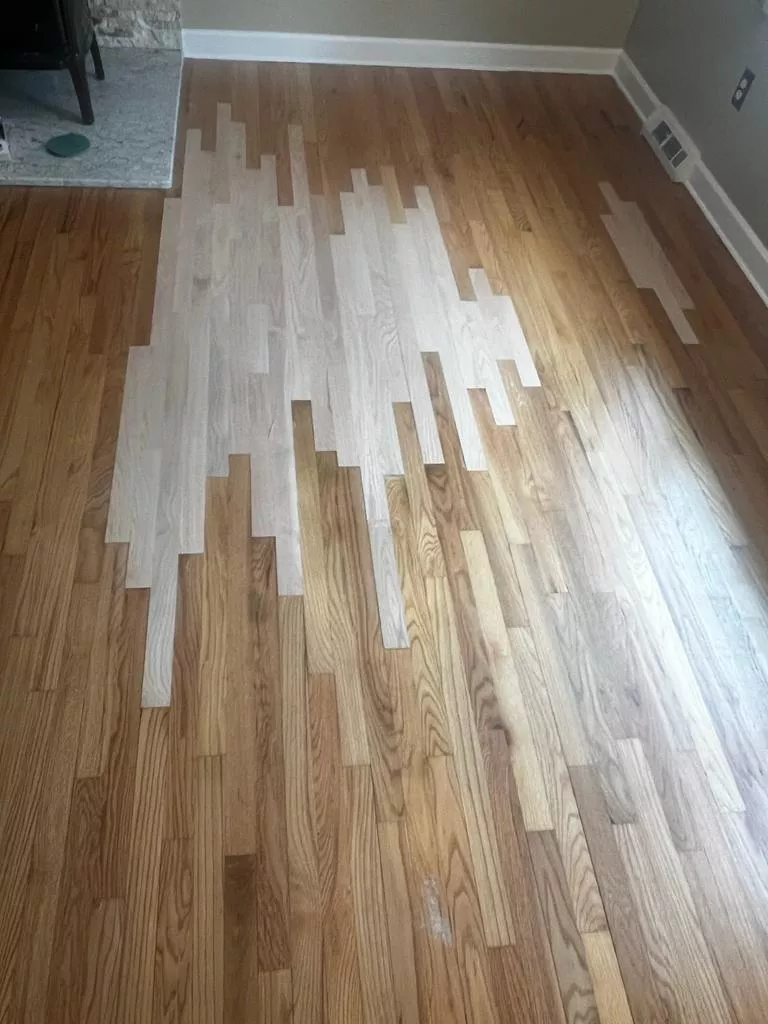
Compare prepared samples from the original wood and the replacement near the same opening. If the grains respond differently, agree on a range before treating the rest of the room.
Test the shade alongside the window casing and the door leading to the next room. Revisit the sample when the lamps you normally use are on.
Show the existing nosing and the hallway strip floor. Try the proposed shade on both kinds of wood and compare coated pieces from the top of the stair.
Ask for a clear-coated trial on the prepared wood so you can see the color added by the topcoat. Check it next to the wall trim before deciding.
Choose a general range first. Approve the actual color on a correctly prepared area with the proposed finish system.
Assess the depth available for sanding and make a small trial. Review the shade after the test receives the intended clear coat.
Keep the approved sample and note the wood, formula and coating. A later repair should still be sampled on its own material.