Dustless Floor Refinishing
Review extraction and room isolation for Chappaqua sanding. Review dust containment and daily cleanup responsibilities before work begins.



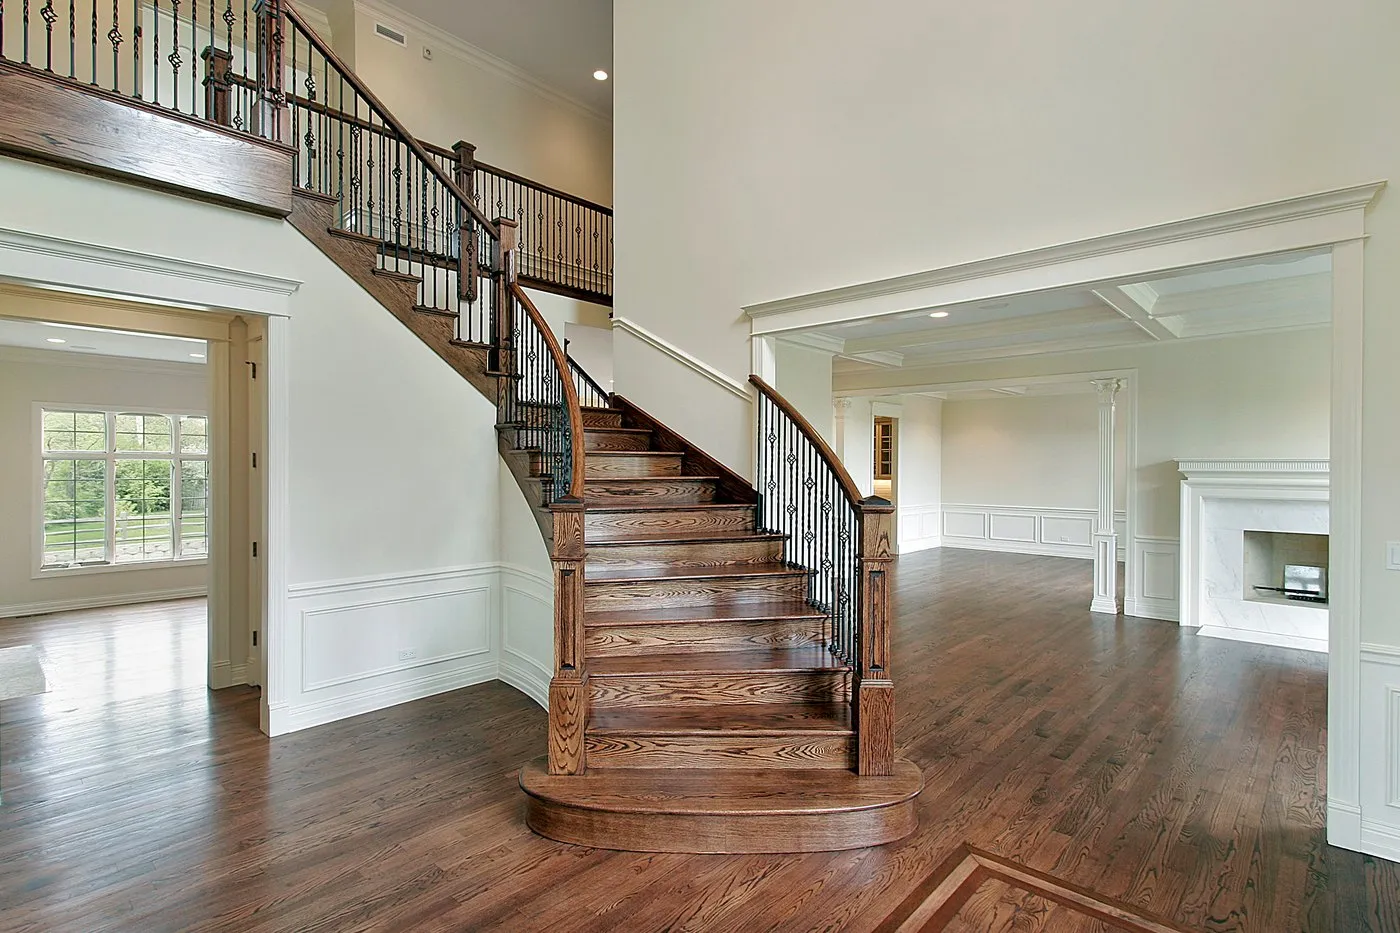
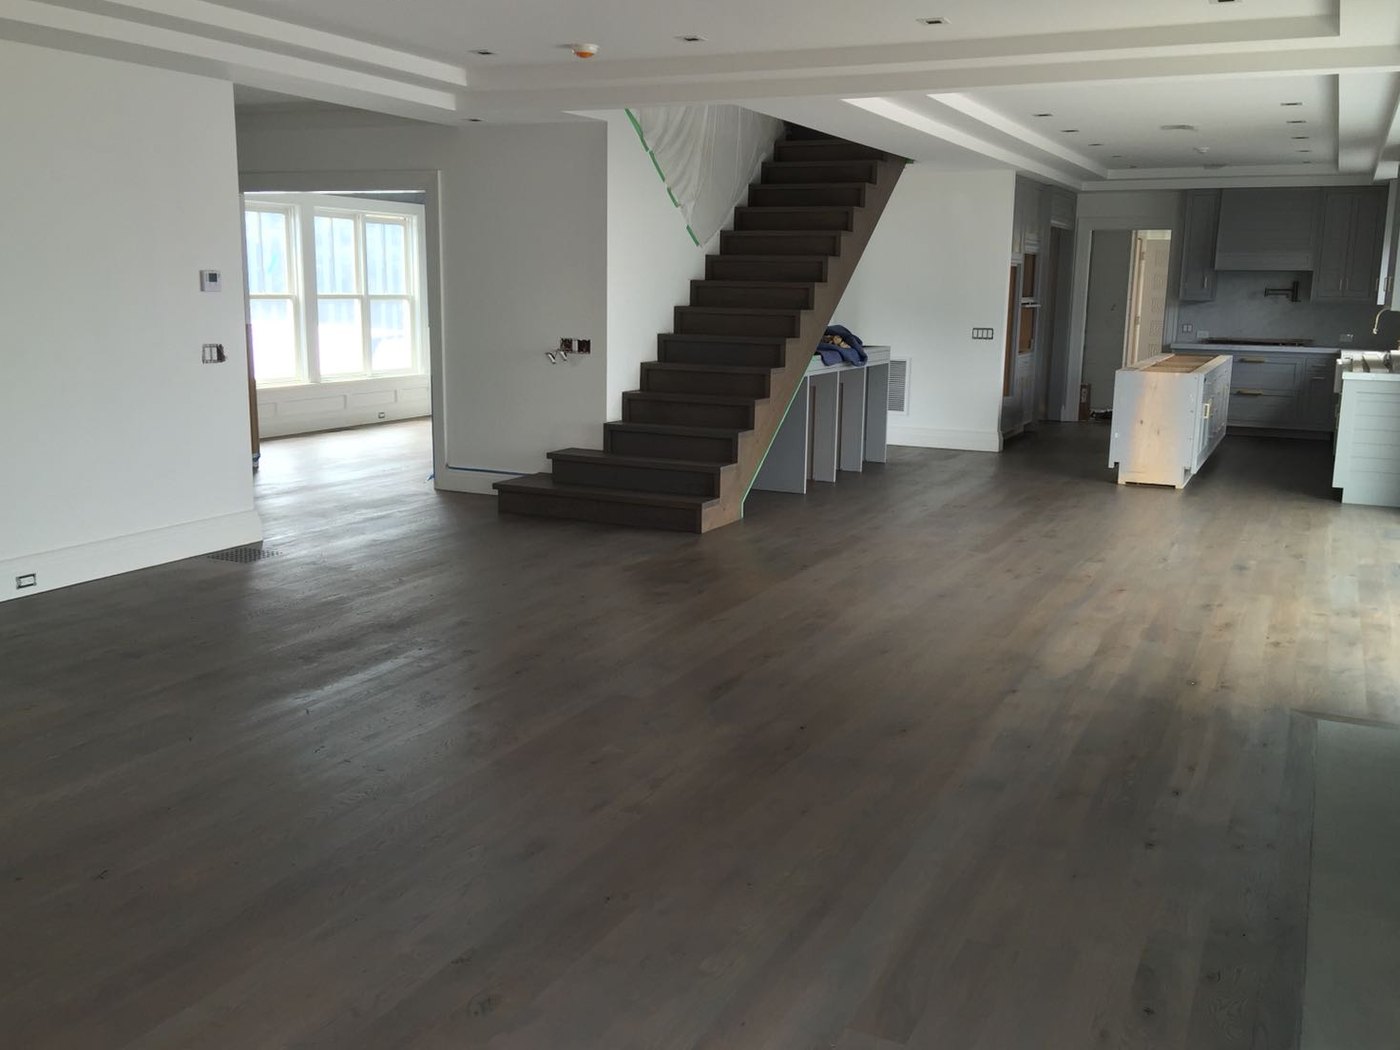

Review extraction and room isolation for Chappaqua sanding. Review dust containment and daily cleanup responsibilities before work begins.

A three-to-five-day plan depends on the coats and repairs. Verify the drying stages and room access for your New Castle floor project.

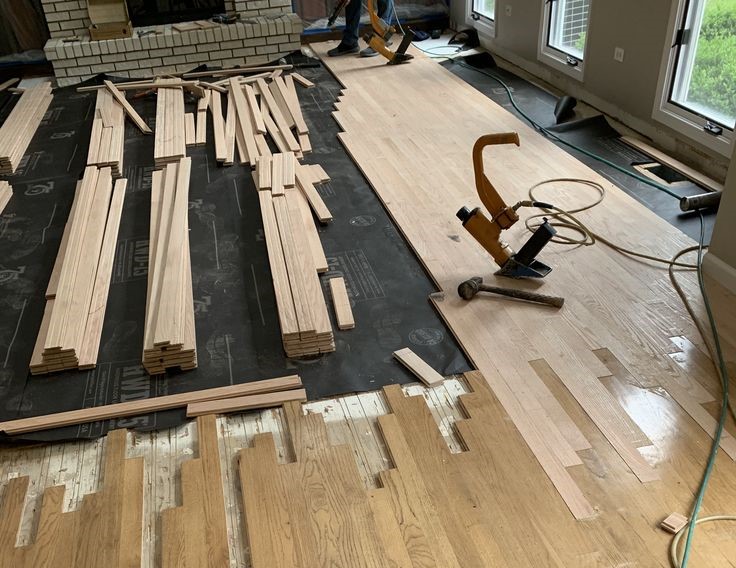
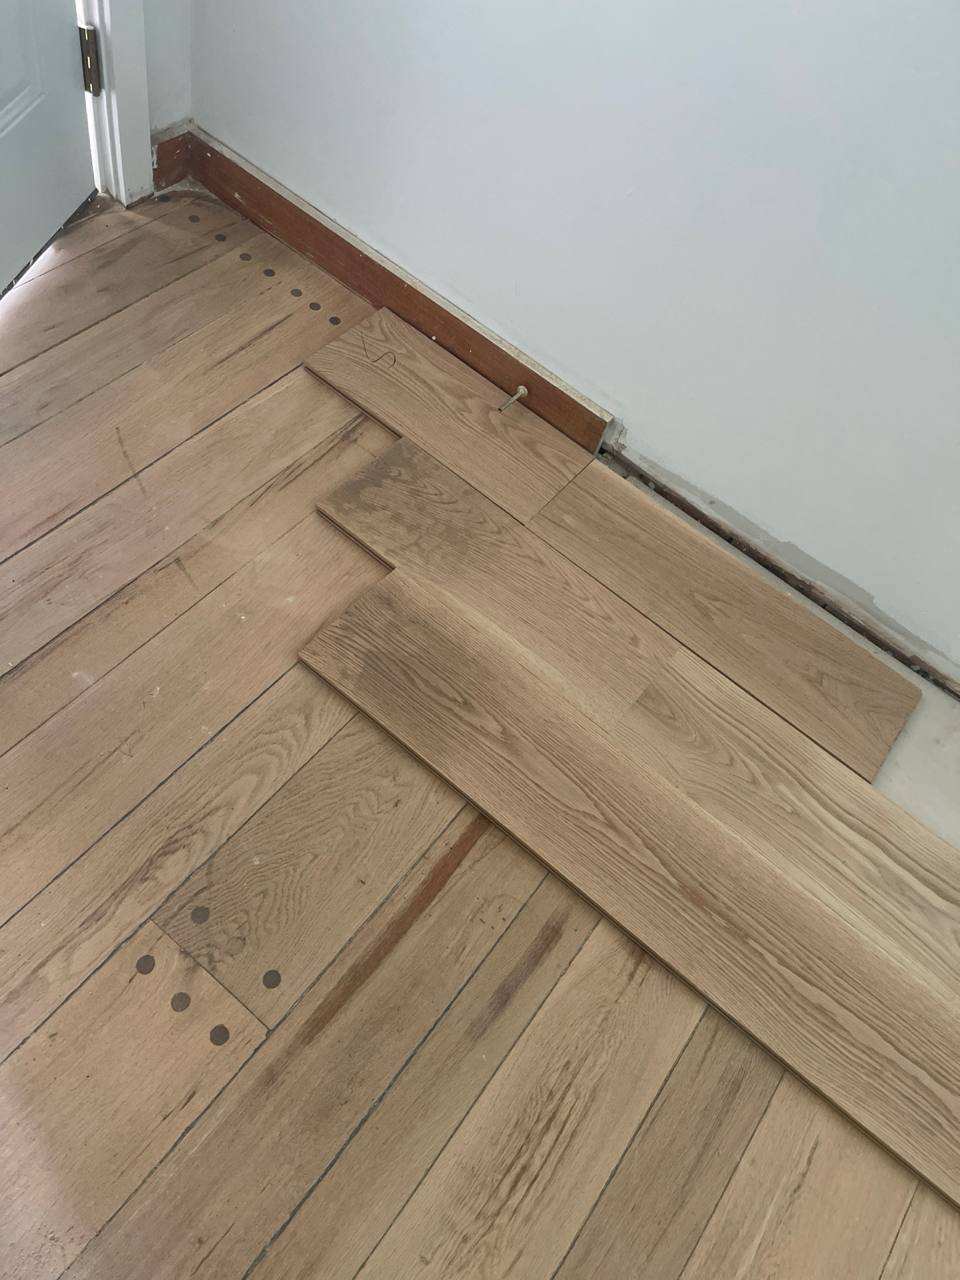
Assess Millwood floorboards needing repairs before sanding. List damaged areas and how replacement boards will be finished.

Keep one-year refinishing warranty terms with the New Castle scope. Check the finish care requirements and coverage limits.

Natural finish reveals the actual wood color. Check a coated Chappaqua sample alongside existing wood trim.
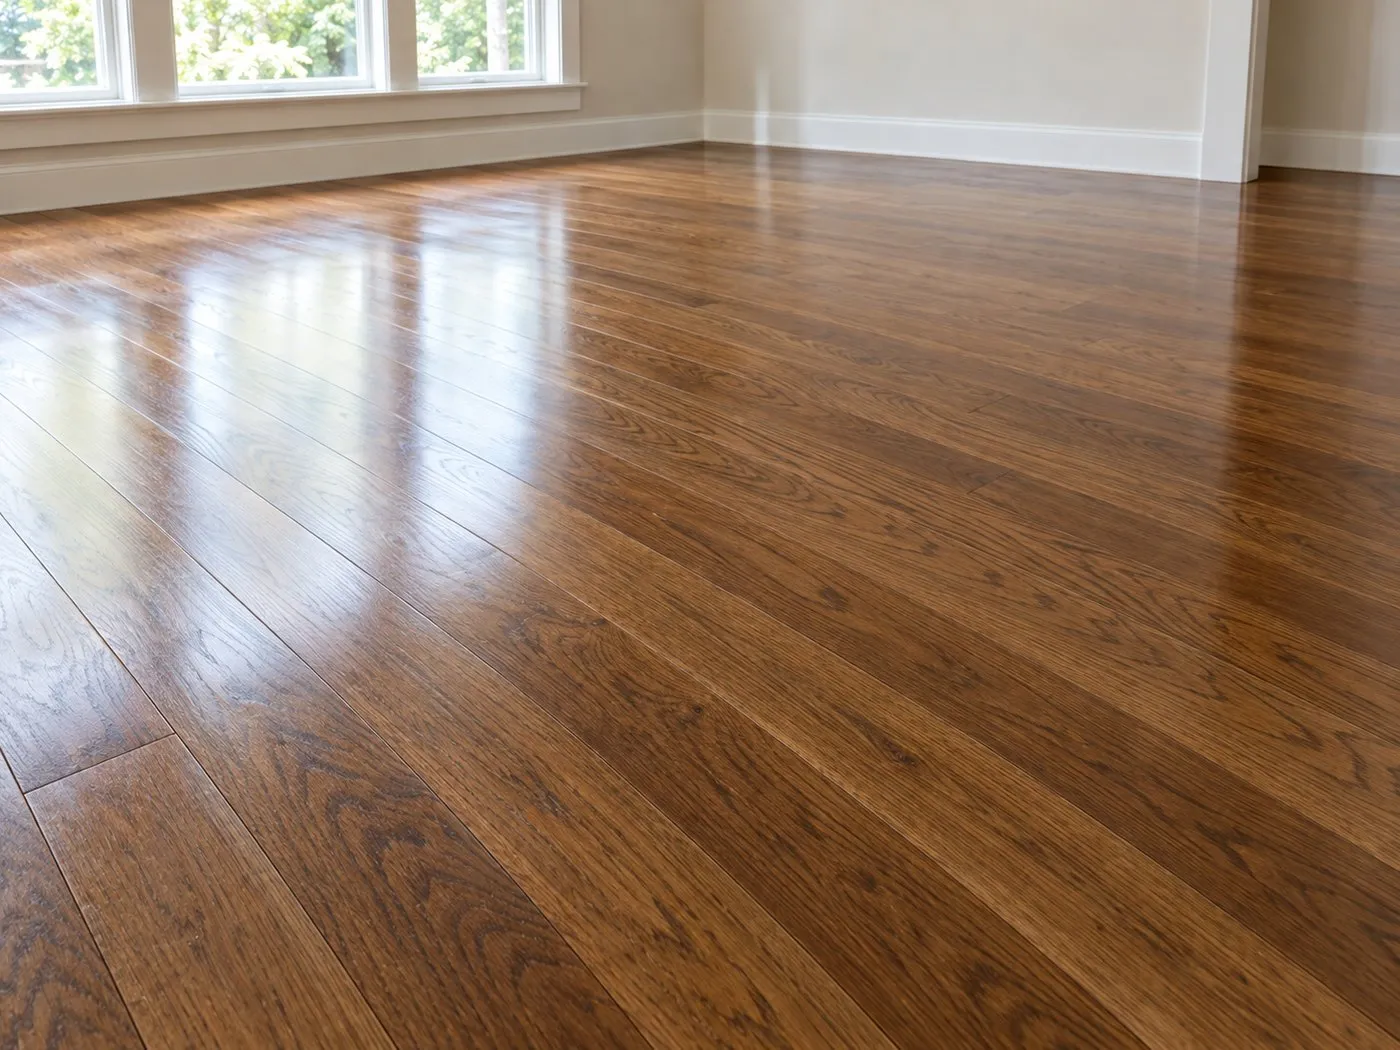
Special Walnut needs prepared Millwood samples. Review the color across old and replacement floorboards.
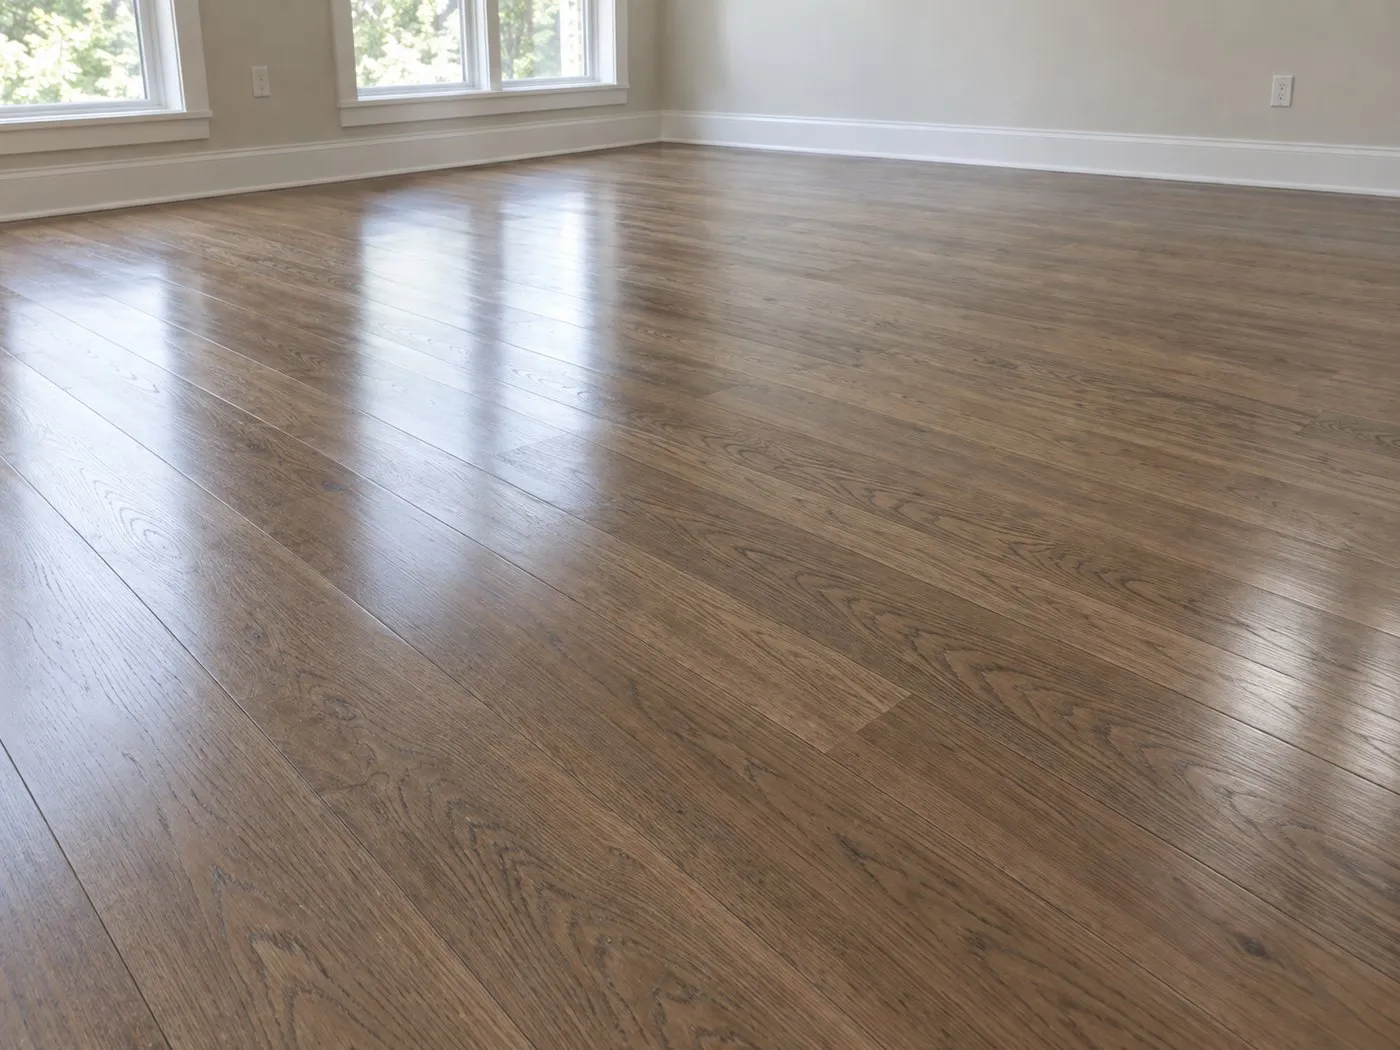
Provincial ought to be sampled on Chappaqua boards. Examine its tone with adjoining retained flooring.

Test Early American on your Millwood wood. Review grain contrast with existing trim under normal room lighting.

Dark Walnut samples can reveal differences in repairs. Review New Castle floorboards before approving the stain.

For Jacobean, compare a Chappaqua sample after the chosen finish is applied. Examine color depth and sheen.
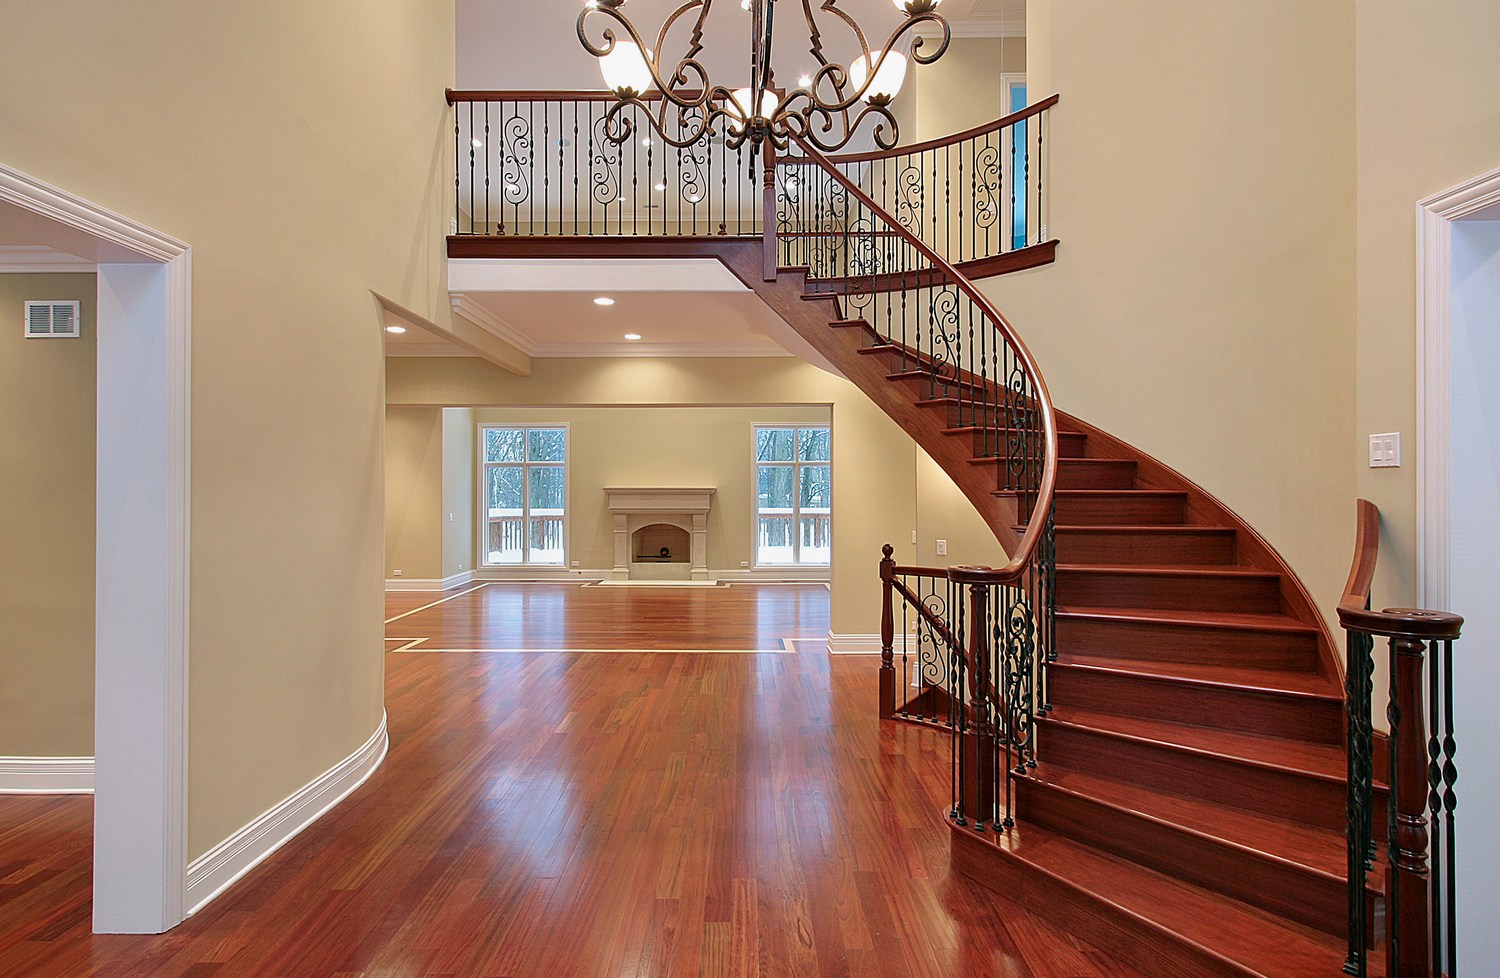
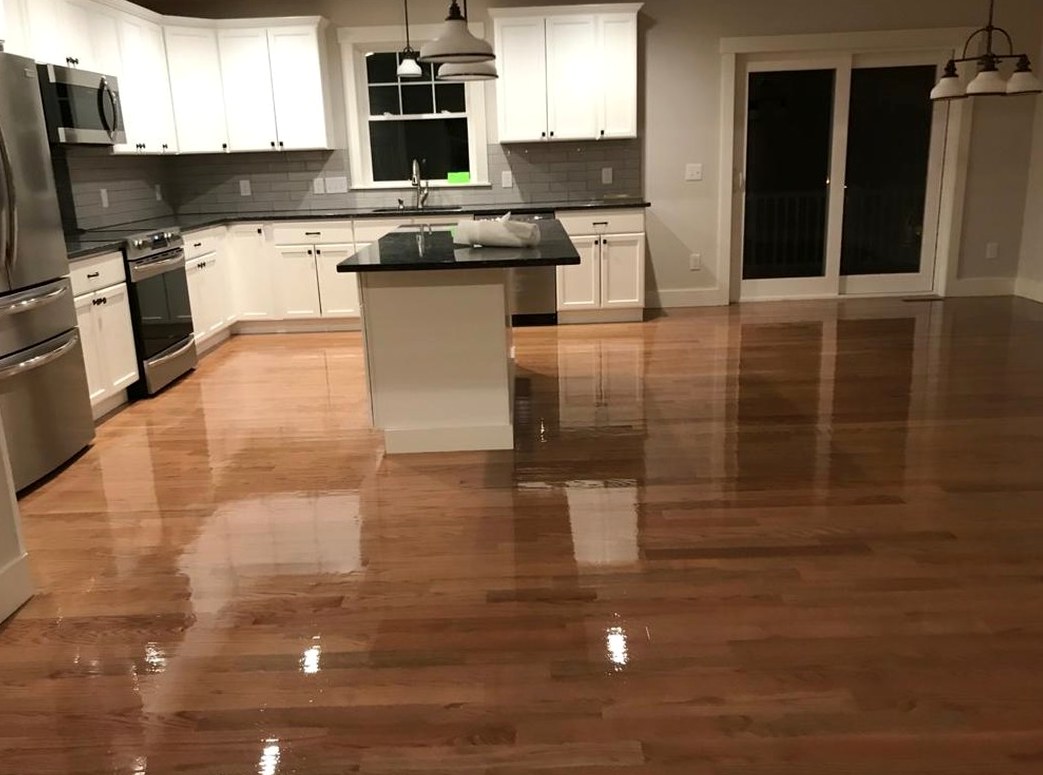
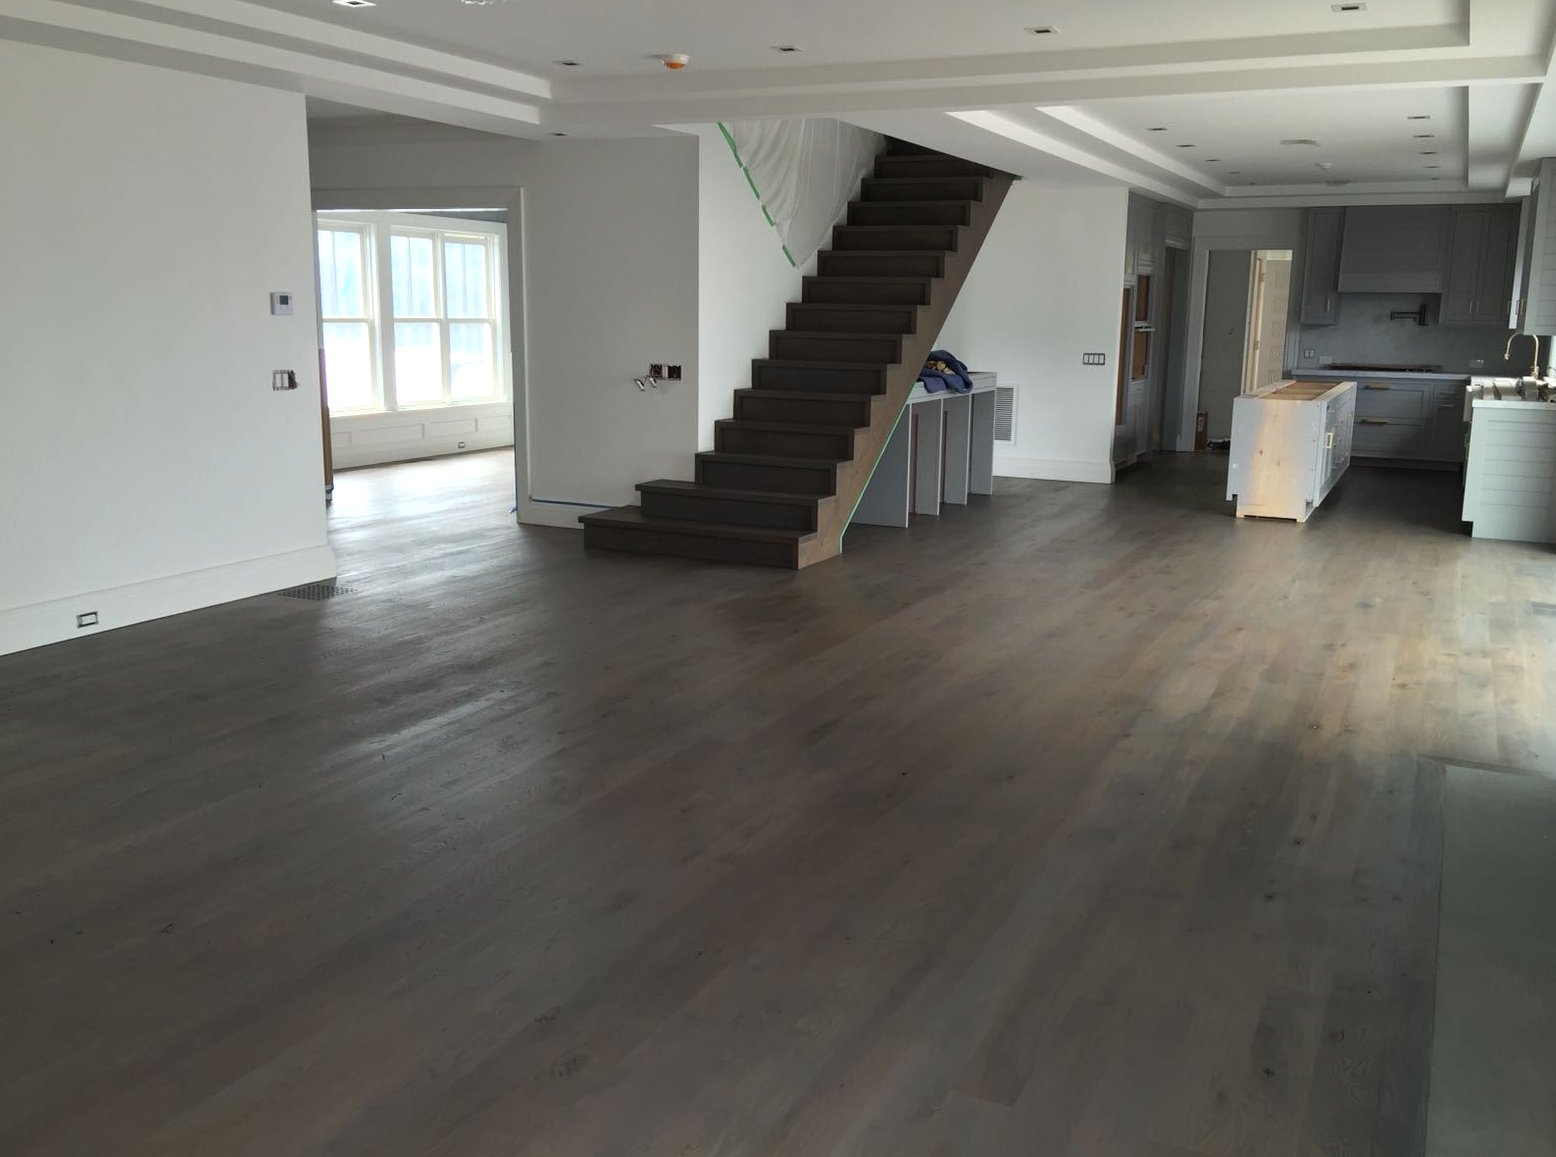
 Get your Free In-Home Estimate
Inspect a board edge at a vent or threshold where possible. Prior sanding, fasteners and repairs can reduce the wood available for another pass. At the visit, show us an older finish in a hallway that links two phases of work and the floor beside it.
The depth and cause of a mark determine what sanding can remove. A trial and inspection help identify where a board repair might still be necessary.
Choose a shortlist first, then sample on the prepared floor. The existing wood, sanding sequence and finish can all shift the color. Bring a photo of an older finish in a hallway that links two phases of work if it is part of the plan.
Agree on a route and the rooms in each phase before work starts. Use the chosen finish’s instructions for traffic, furniture and rugs.
Examine whether each patch is stable and whether it differs from the surrounding wood. Compare a sample before deciding to retain or replace it. For an older finish in a hallway that links two phases of work, point out the exact spot during the estimate.
Choose a deliberate stopping point at a threshold or change in direction. Existing color and sheen can still differ across that boundary.
Identify movement before the sanding phase. Fixing the underlying issue early helps the crew plan the repair and the finish together. For an older finish in a hallway that links two phases of work, point out the exact spot during the estimate.
Measured area, sanding condition, repairs and the chosen finish set the scope. Ask the estimate to identify separately any stair or furniture work.